
What the workshop covers for market sellers
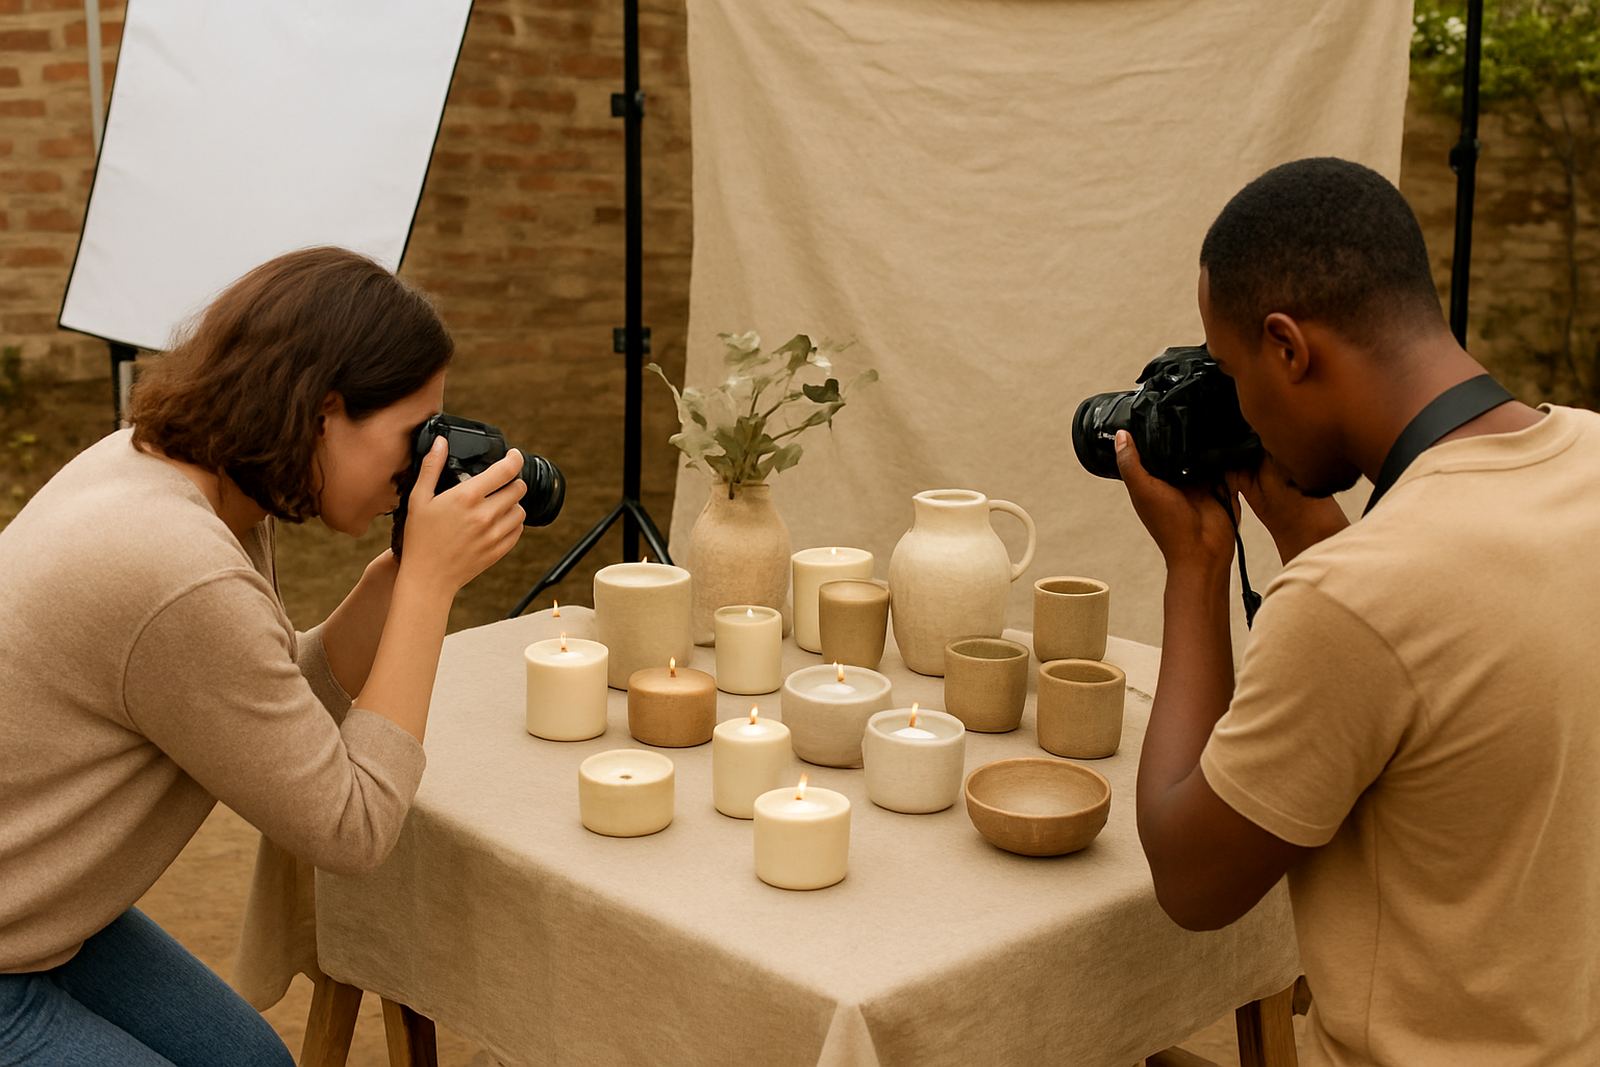
This workshop is built for makers who need practical photos that work hard across print and digital use. We cover product close ups, table and stall shots, detail images for craft items, and clean food photography for packaged goods or baked items. The focus is on simple set ups that can be repeated at home or at your market table without special studio gear.
We also show you how to plan a small photo list before market day, so you leave with the images you actually need for listings, posters and social posts. That includes angles, background choices, and how to avoid clutter that makes a product look smaller or untidy. For sellers working in Pretoria, Johannesburg, Durban or coastal towns, we also cover light changes caused by morning sun, indoor halls and cloudy weather.
- Product framing for single items, sets and gift boxes
- Stall overview shots for market posters and event pages
- Simple lighting using windows, shade cloth or LED panels
- Background selection for handmade goods, food and decor
- Basic editing for brightness, crop and colour balance
How we run the session step by step
We start with a short review of what each maker sells and where the photos will be used. That helps us guide the session properly, because a candle photo needs a different setup to a jam label or a ceramic mug. We then move into practical shooting exercises, using the products you bring to the session.
After the hands-on part, we go through the strongest images and explain what made them work. Makers leave with a simple repeatable method for taking better shots at home or at the market. If your team is small, we can also show a one-person process that works when you are packing up, selling and posting from a phone between customers.
- Pre-session product review and photo goals
- Hands-on shooting with your own products
- Composition and angle guidance
- File use for posters, social posts and online listings
- Quick review and correction tips at the end
Photo specifications that matter in real market use
Good market photography is not only about taking a nice picture. The image must print clearly, load quickly on a phone and still look sharp when cropped for different uses. We explain the practical specs that help makers get better results without wasting time or storage space.
For listings and social posts, we prefer images shot in landscape and portrait formats, so you have options for banners, square posts and story uploads. We also cover file size, resolution and how to keep product colour accurate. In a market setting, white balance matters more than people think, especially under warm indoor bulbs or mixed light at dusk. If your photos look too yellow or too blue, buyers can lose trust very quickly.
- Recommended capture size: 3000 px on the long edge or higher
- Print use target: 300 dpi for clean posters and flyers
- File types: JPEG for general use, PNG where transparent backgrounds help
- Safe crop space for square, portrait and landscape layouts
- Consistent colour reference for handmade goods and food packaging
Turnaround and what you walk away with
The workshop itself is delivered in one scheduled session, with follow up notes sent after the class so you can keep working from them. Where a maker night or group booking is involved, we can split the session into a short teaching block and a practical block, which helps sellers who have stalls to prepare for trading.
Turnaround for any workshop notes or shared reference material is usually within 2 to 3 working days after the session. If your group has asked for a photo checklist or event specific image plan, that can be included in the same time frame. For regular sellers, we suggest a refresher every 3 to 4 months, or at the start of each season when lighting and product ranges change.
Pricing approach for individuals and groups
We price the Market Photography Workshop according to group size, venue and whether the session is part of a maker night, pop up or private training booking. This keeps the cost fair for solo traders, small collectives and larger market groups. If the workshop is held in Hatfield, Brooklyn, Lynnwood, Menlyn or Centurion, we can quote with travel and setup taken into account.
For small groups, a fixed session rate usually works best. For larger market teams or nationwide pop ups, we can quote per session or per half day depending on the number of makers attending. If you need the workshop to include product styling support, photo planning or a follow up review round, that can be added as a separate line item rather than bundled into a one size fits all fee.
- Best for solo makers, small teams and market collectives
- Quoted by group size, venue and session length
- Optional add ons for follow up review and photo checklists
- Travel considered for Pretoria and nationwide bookings
Keeping your photo setup useful after the workshop
Market photos need regular updates, not one perfect shoot and then nothing for months. We recommend refreshing key product images every 8 to 12 weeks, or sooner if your packaging changes, seasonal stock shifts or you launch new items. For food sellers, a monthly check is sensible because labelling, shelf life and presentation can change quickly.
If you sell outdoors, check your setup at least once a month for lighting issues, heat glare and dust that can dull surfaces. In Pretoria and other inland areas, bright sun can wash out colour by mid morning. Along the coast, humidity can fog lenses and affect paper labels so it pays to keep cloths and sealed storage on hand. A simple clean kit, extra batteries and a small reflector can make a big difference on market day.
Key facts
| Session format | In person group workshop or private maker training |
|---|---|
| Core focus | Product photos, stall images, listings and social content |
| Ideal group size | 1 to 20 makers per session depending on venue |
| Recommended refresh interval | Every 8 to 12 weeks, or each season |
| Delivery areas | Hatfield, Brooklyn, Lynnwood, Menlyn, Centurion and nationwide pop ups |
| Typical output | Repeatable photo method, checklist and practical image standards |