
Start with a clean story, not a busy setup
Your photo should answer one simple question: what am I looking at and why should I care? Start by choosing one hero product and keeping the surface plain. A piece of white card, a wooden board, a linen cloth or a neutral floor tile can all work well. The aim is to let the product do the talking.
For makers in Pretoria, Hatfield or Centurion, this is especially useful when you are shooting in a small room with mixed light. Keep the setup near a window and clear away anything that competes for attention. If you sell several colours or sizes, photograph each one in the same spot so buyers can compare easily.
- Use one main product per image where possible.
- Choose props that support the product, not distract from it.
- Keep your background plain enough to show shape and detail.
- Remove price tags, cords, fingerprints and dust before shooting.
Use window light and avoid harsh midday sun
Natural light gives most handmade products a softer, more honest finish. Place your setup beside a window with indirect light, then turn the product until the texture and colour look right. Early morning and late afternoon are often best, because the light is gentler and less likely to wash out details.
If the sun is strong, hang a thin white curtain or use a sheet of paper to soften it. On overcast days, a window close to the door or balcony can still give enough light for a proper photo. Avoid yellow indoor lights if you can, because they can make packaging and food look off-colour.
- Face the product toward the light, then test both sides.
- Use a plain white card as a reflector to brighten shadows.
- Switch off mixed light sources to keep the colour consistent.
- Check for glare on glass, resin, polished wood or sealed labels.
Show size, texture and use with a simple prop
Many buyers hesitate because they cannot judge size from a flat image. A simple prop such as a teacup, a hand, a coin, a notebook or a standard plate can help. For jewellery, a hand shot shows scale. For candles, soaps or small decor items, one everyday object nearby gives a better sense of proportion.
Textured goods also need close-up images. Photograph the weave, stitch, glaze or packaging edge so the buyer can see the finish. If you sell food, include a fresh serving suggestion next to the pack, but keep the styling neat and practical. A little steam, crumbs or sauce can make it feel real, just dont overdo it.
- Add one size reference prop to each product range.
- Take at least one close-up for texture, label or finish.
- Include a use photo for items people wear, carry or eat.
- Keep hands clean and nails neat when holding products.
Use a steady phone setup and shoot more than one angle
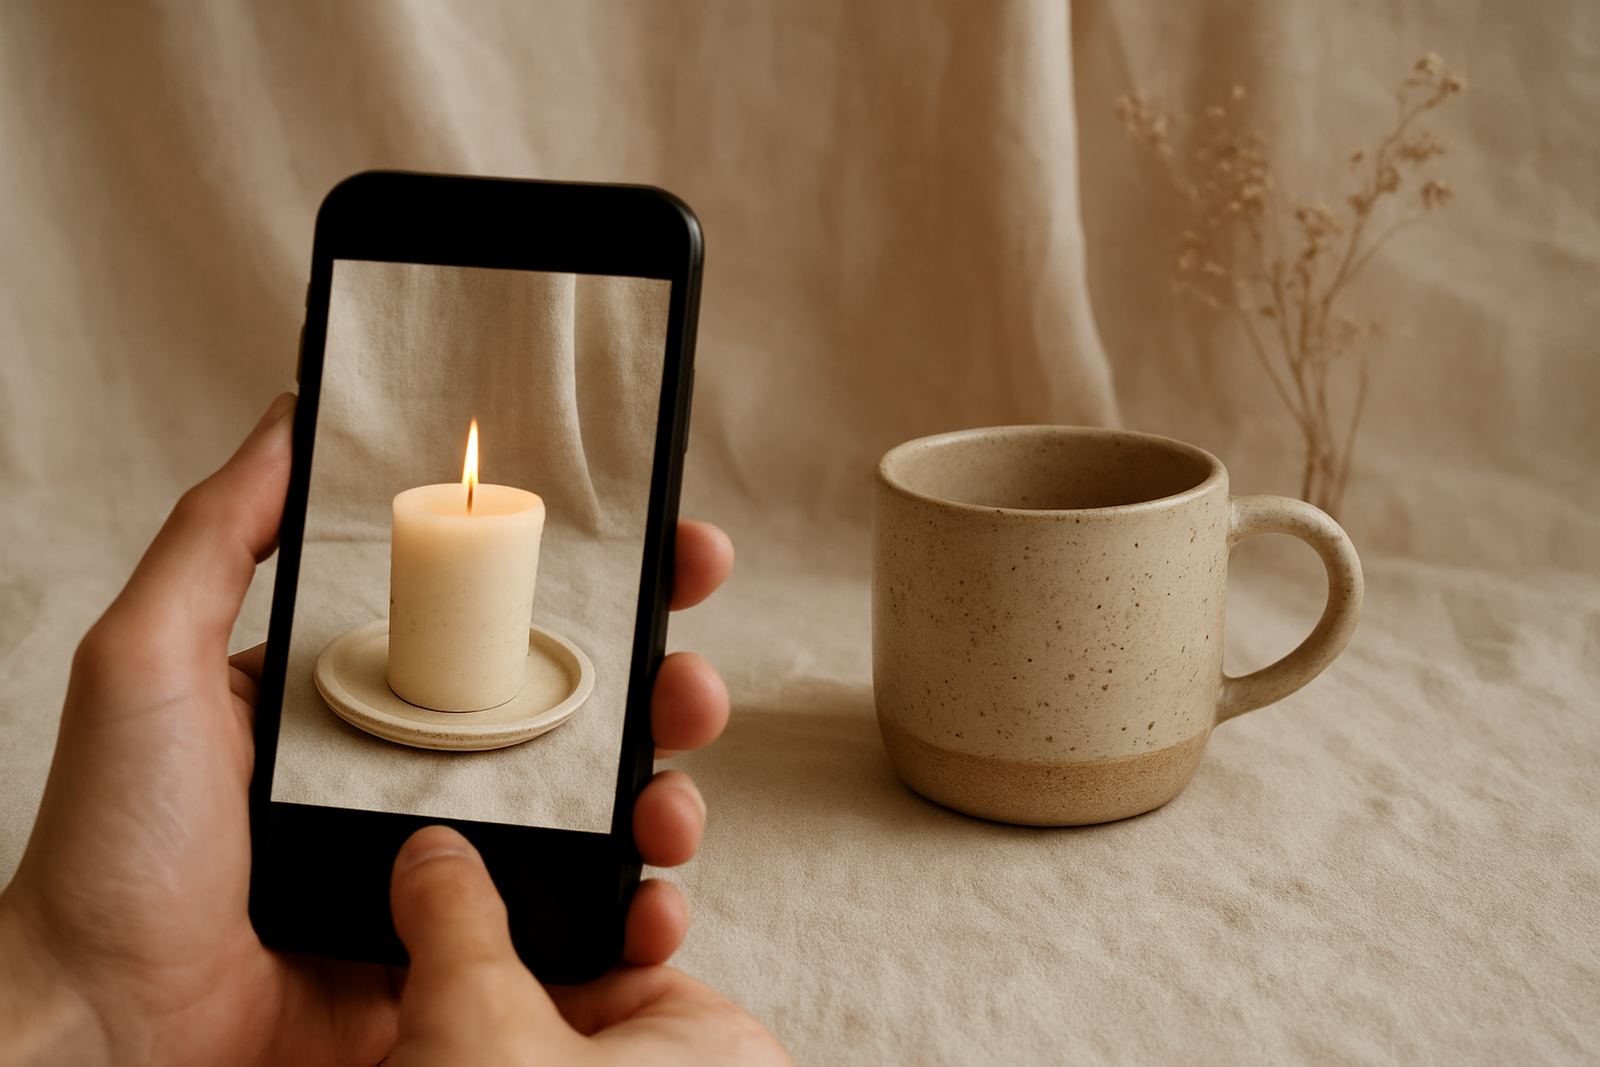
You do not need a large camera kit to get useful photos. Most phones are good enough if the lens is clean and the frame stays steady. Rest the phone on a stack of books, a box or a small stand so your images stay straight. Wobbly shots make products look less polished, especially when buyers are comparing options on their phones.
Take a front view, a side view, a detail shot and one wider image that shows the whole item in context. For market sellers in busy places like Brooklyn, Menlyn or Lynnwood, this saves time later because you will already have images for price lists, market posters and social posts. Keep the background the same across a product range so your page looks organised.
- Clean the lens before each photo session.
- Tap to focus on the most important part of the product.
- Turn on grid lines to keep items level.
- Take 3 to 5 shots of each angle so you can choose the sharpest one.
Edit lightly so the photo still looks true
Small edits are useful, but the picture must still look like the real item. Adjust brightness, contrast and crop before you touch saturation. If a product is beige, cream or pastel, over-editing can make it look different from the stock on your table. That leads to unhappy customers and awkward conversations at the next market day.
Match the photo to how the item appears in natural light. If you are selling at a weekend market in Hatfield or a pop-up in another city, a truthful image builds trust faster than a heavily filtered one. Keep a consistent look across all your products so your range feels coherent and easy to browse.
- Crop out clutter at the edges of the frame.
- Correct the white balance so whites stay white.
- Keep skin tones natural in hands or lifestyle images.
- Do not sharpen so much that the product starts to look grainy.
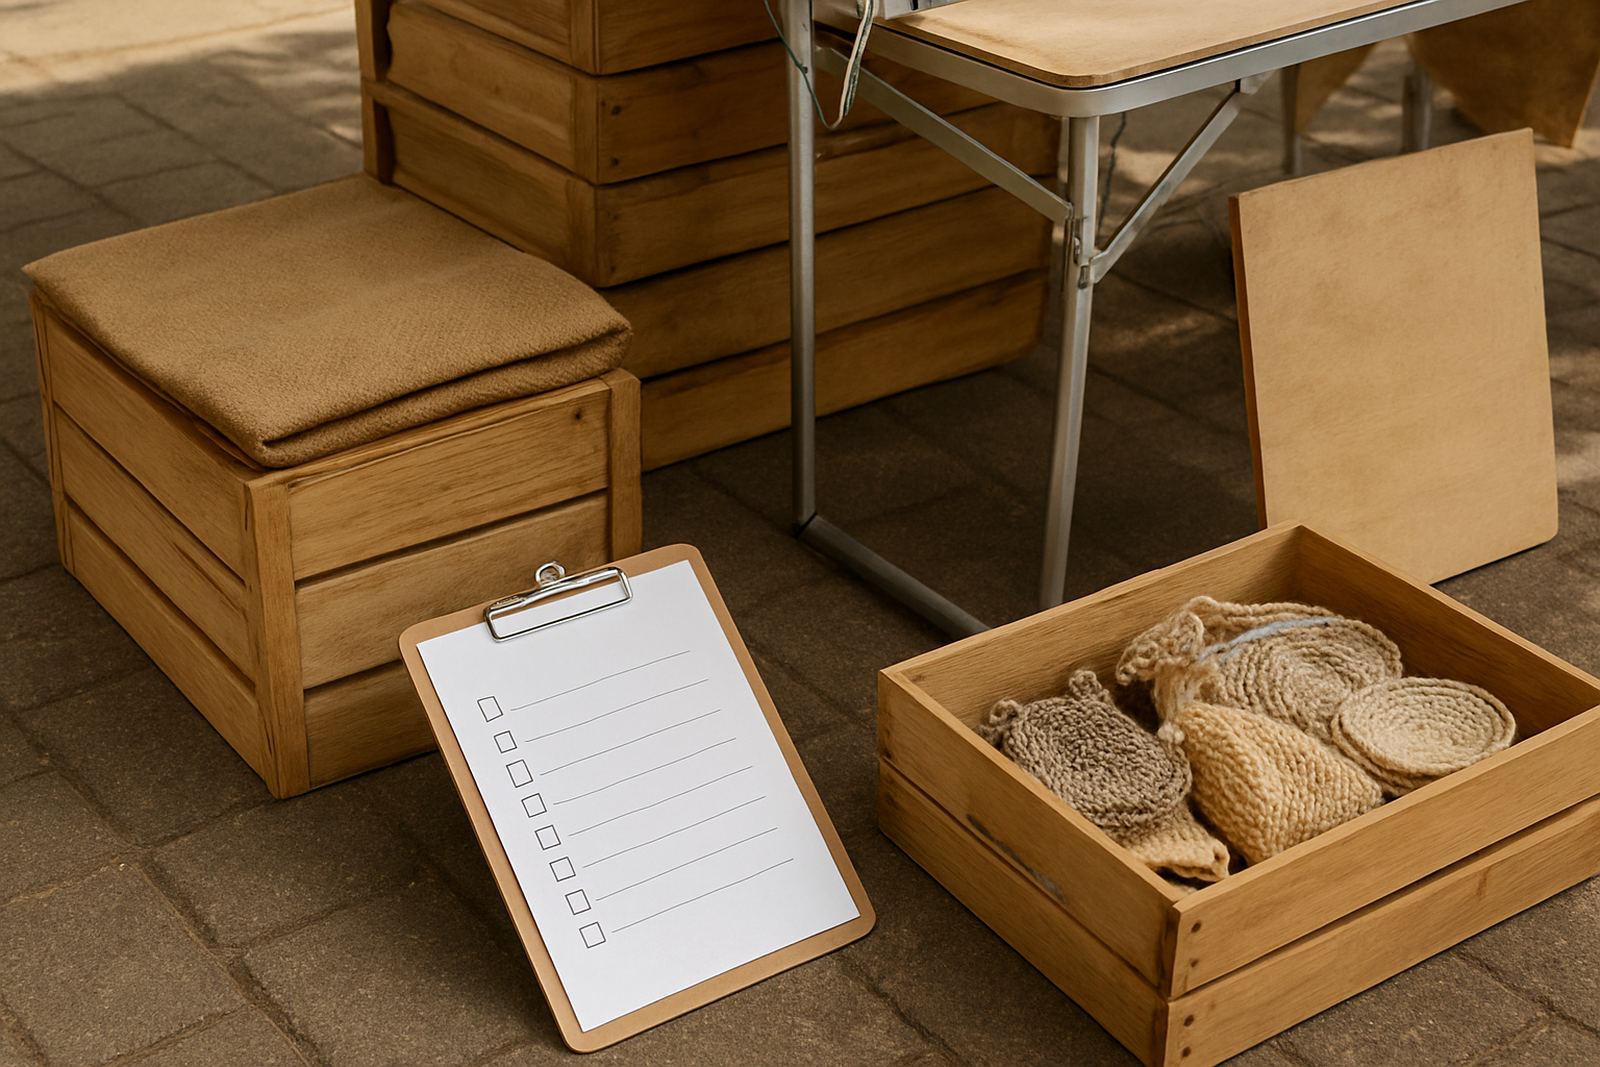
Build a simple photo checklist before market day
Set aside one short session each week to photograph new stock, top sellers and seasonal items. This keeps your online listings fresh and gives you ready images when a retailer, event organiser or customer asks for details. It also helps if you are preparing for a seasonal market, a maker night or a special order deadline.
A tidy workflow saves time and keeps your content consistent. Use the same surface, the same window and the same prop style where you can. Over a few weeks you will build a clear visual record of your products, which makes it easier to quote, pack and sell with confidence.
- Products wiped clean and ready.
- Background surface and props set out.
- Window light checked and mixed lights switched off.
- Phone charged with enough storage space.
- At least one wide shot, one detail shot and one size reference.
- Final image checked for blur, glare and colour accuracy.