Start with the whole scene before you zoom in
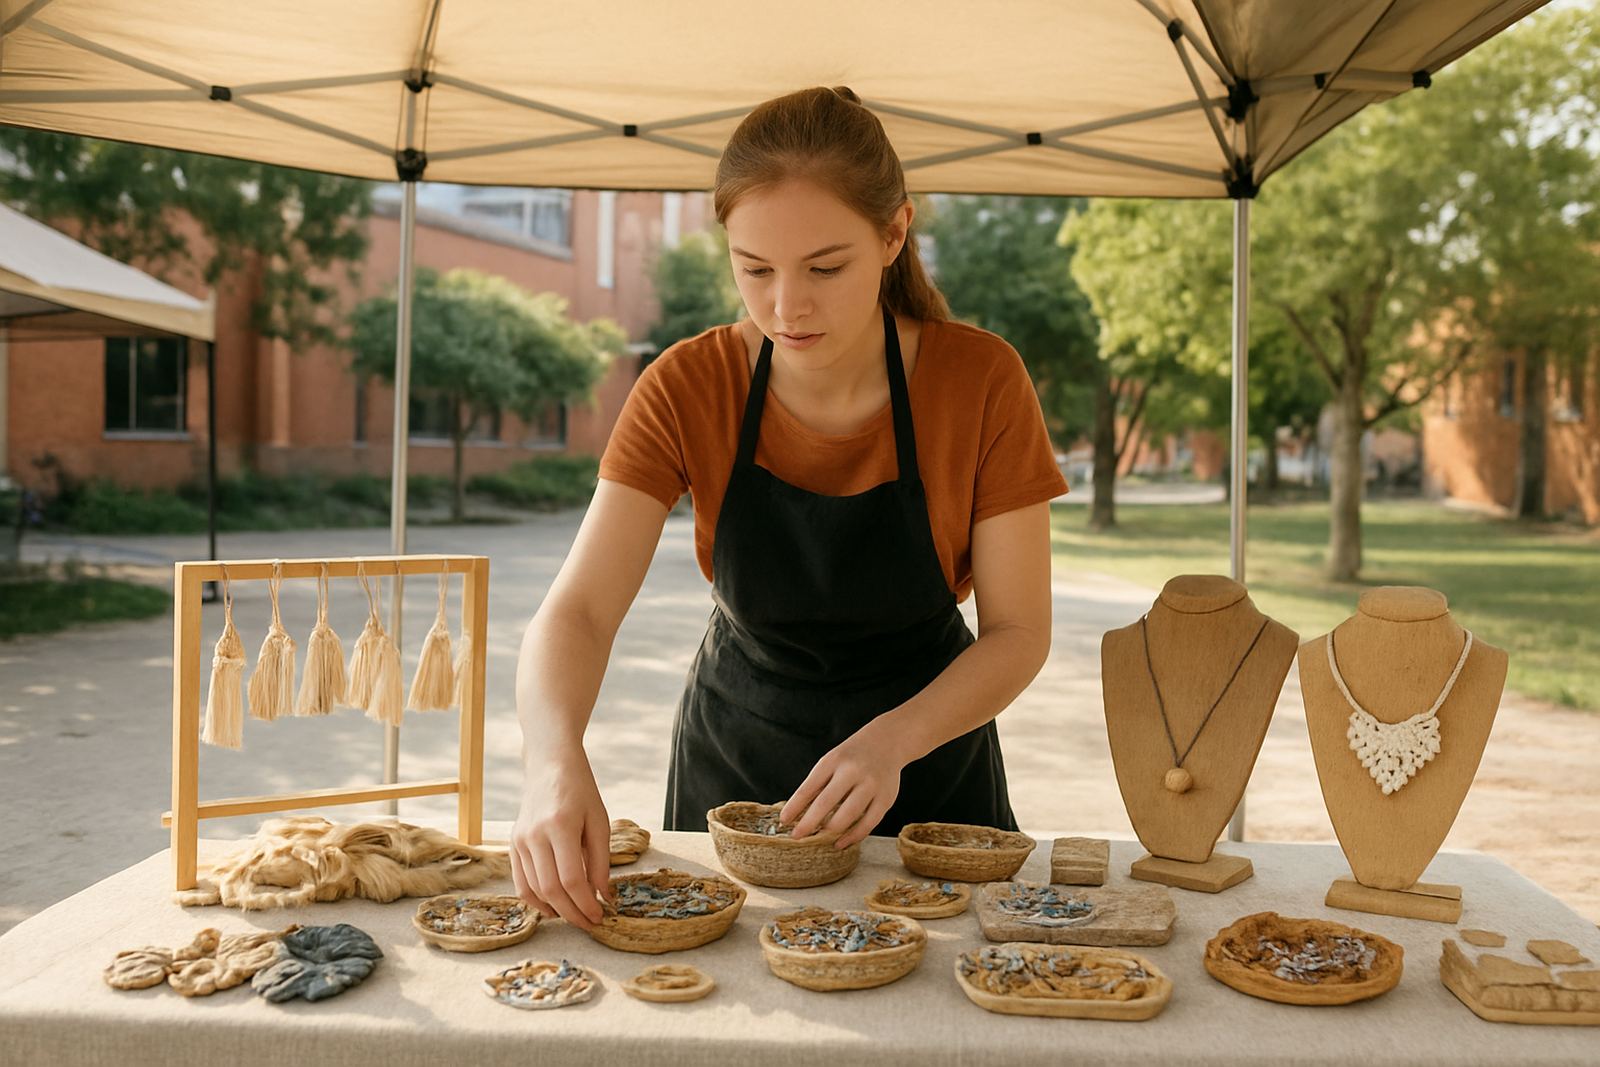
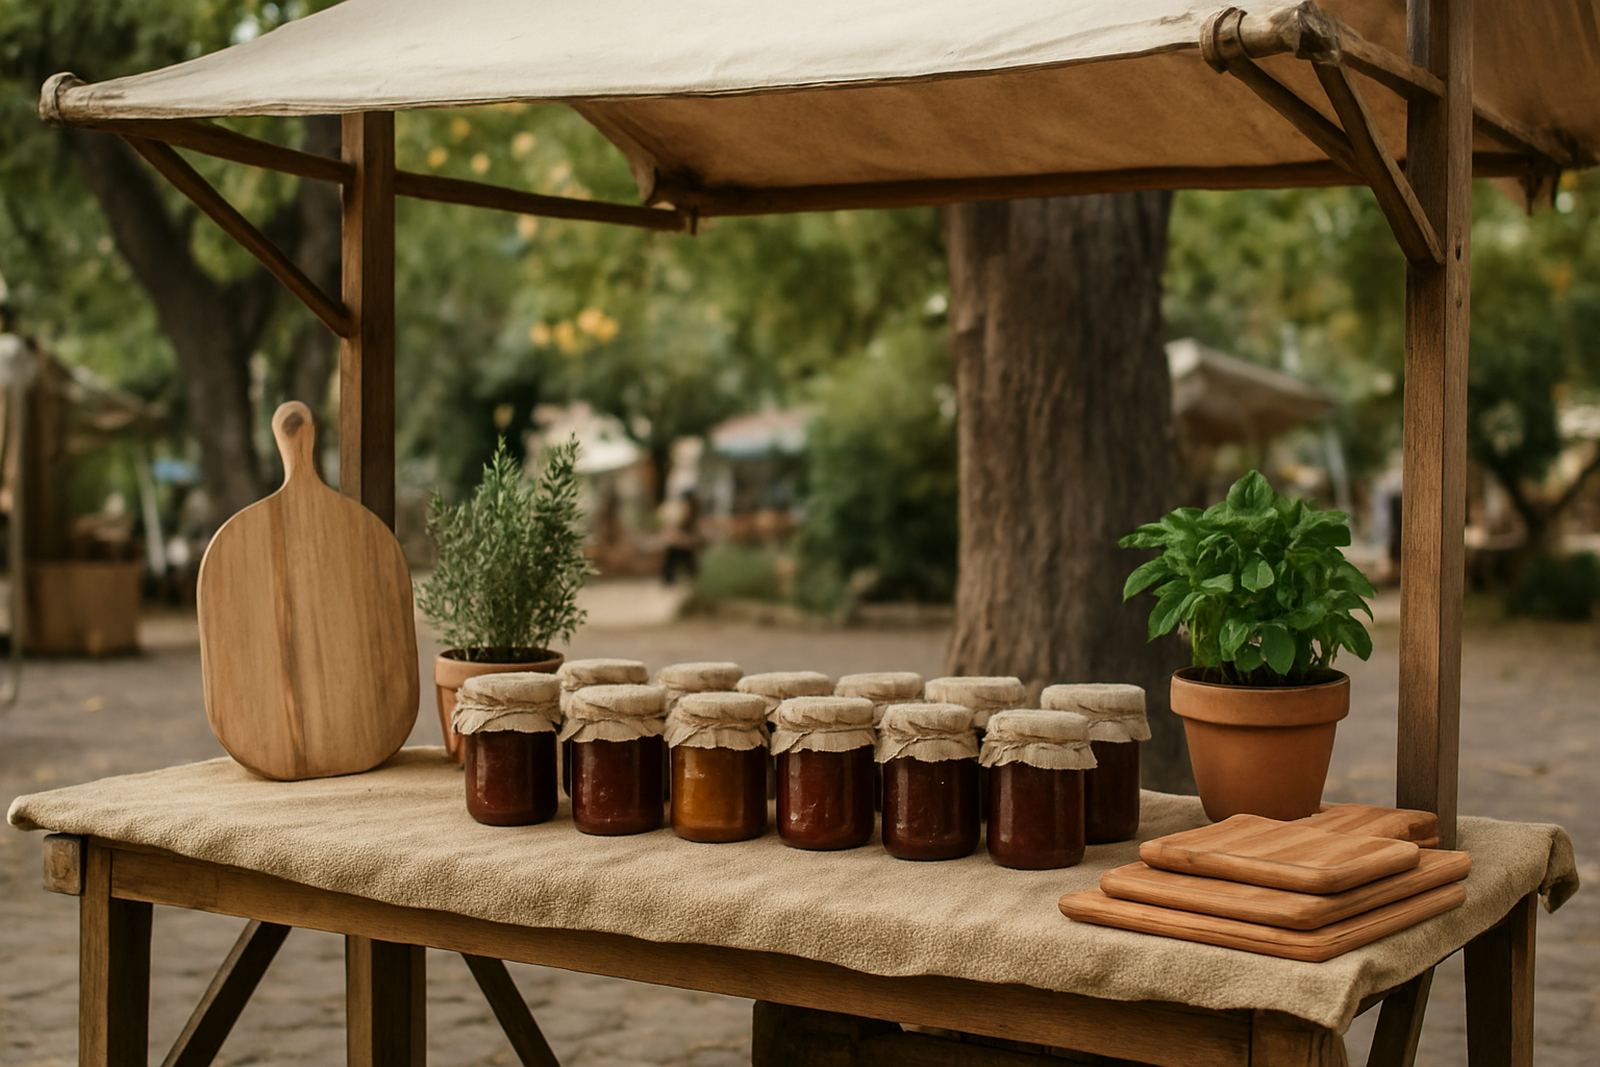
The best stall photos show how a maker has arranged stock for easy browsing. That might mean a neat stack of ceramics, jars with hand-written labels, folded fabric, or trays of pastries still warm from the oven. A tidy stall photographs better, but it also sells better because people can see what is available in a few seconds.
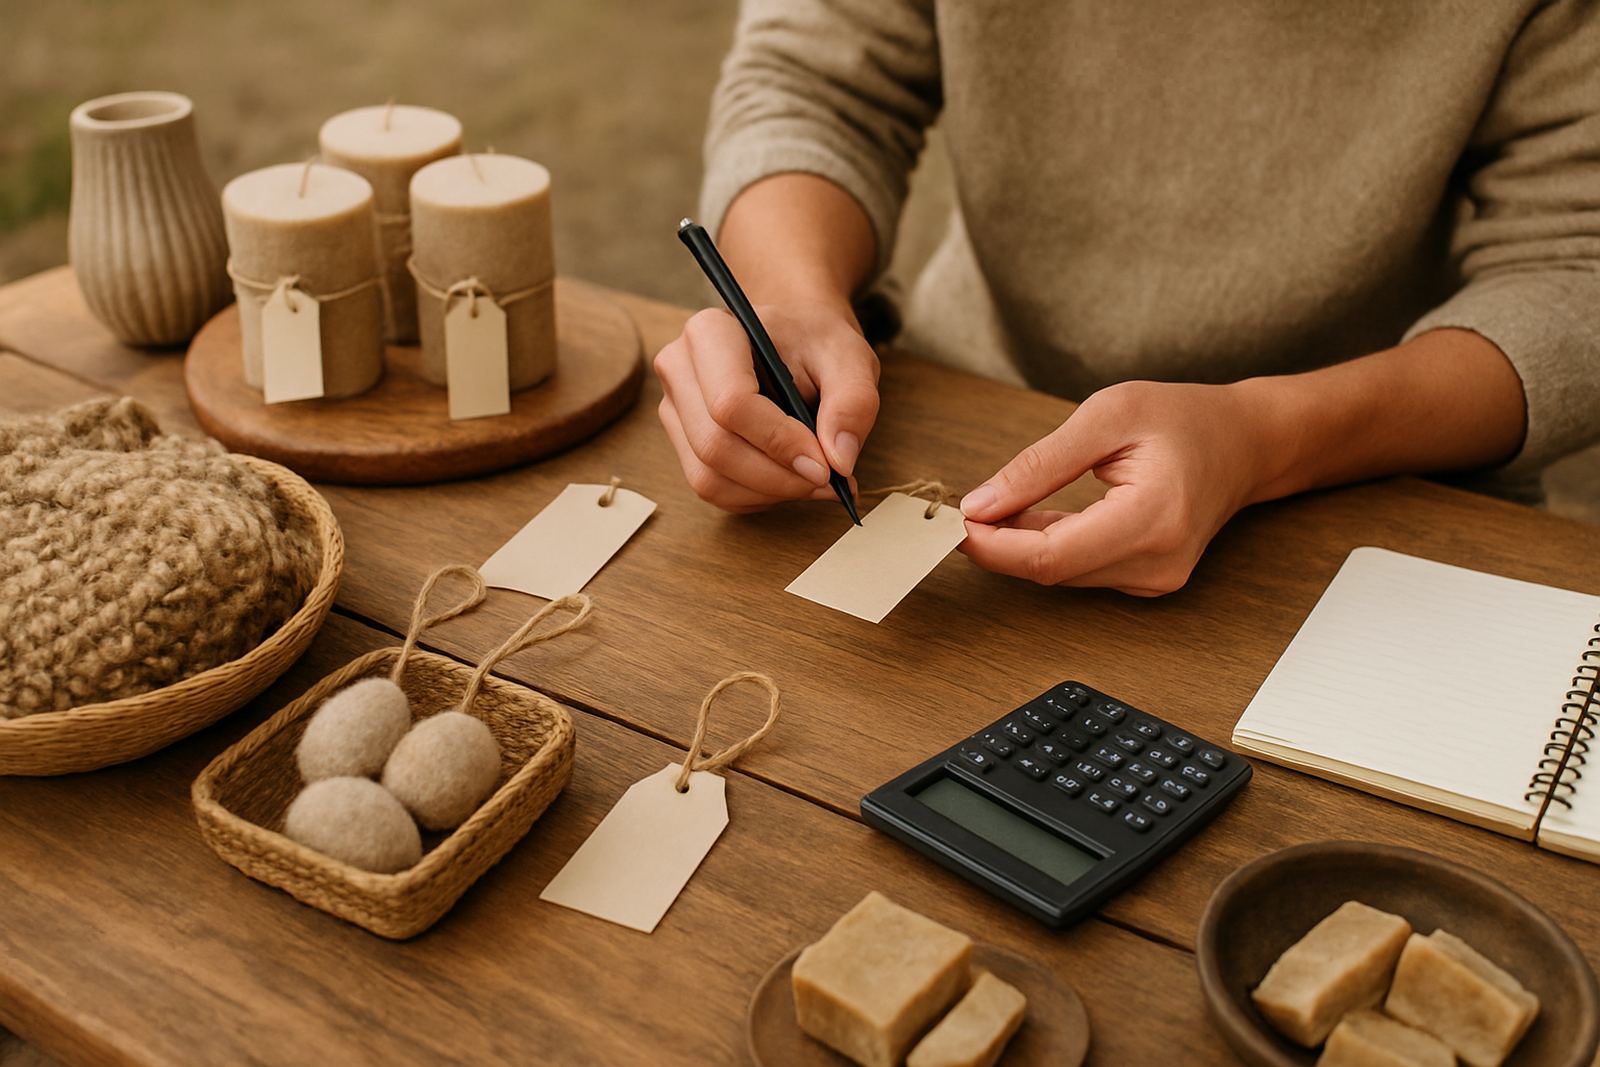
For market photography, keep an eye on small details that show effort. Price tags, packing paper, tablecloth texture and hand-made signs all add character. In a Pretoria market, morning light often gives the nicest colour on wood, glass and metal, while in a covered area you may need to move closer to avoid dark corners. It helps if the maker removes empty crates, packaging offcuts and power cables from view, because these pull attention away from the product.
- Photograph from chest height for a natural shopping view.
- Include one close-up of texture, such as stitching, glaze or icing.
- Ask the maker to stand behind the table only after the product shots are done.
- Keep the price cards visible if the image is meant for sales posts.
Capture hands at work, not just finished products
Food stalls need their own treatment because people buy with their eyes first. Fresh bread, biltong, sauces, fudge, preserves and hot snacks all photograph differently. A glossy sauce needs side light to show shine, while baked goods often look best when you show crumbs, steam or a half-cut piece on a wooden board. At a weekend market in Lynnwood or Menlyn, families often stop for food photos before they decide what to buy, so the image must make the food feel ready to eat.
The practical part matters too. Clean serving tongs, sealed containers, labelled allergen information and neat trays all help the picture look trustworthy. If the stall sells items that need temperature control, make sure cold packs, covers or insulated boxes stay out of the main frame. If a stall uses a gazebo, keep the front edge open enough so sunlight can hit the food, but not so open that glare washes out the colour.
- Photograph one hero item and one supporting detail, such as garnish or packaging.
- Use a napkin, board or basket to give scale.
- Avoid cluttered serving tables with too many containers.
- For sweet items, a bite mark or sliced section can show texture better than a whole piece.
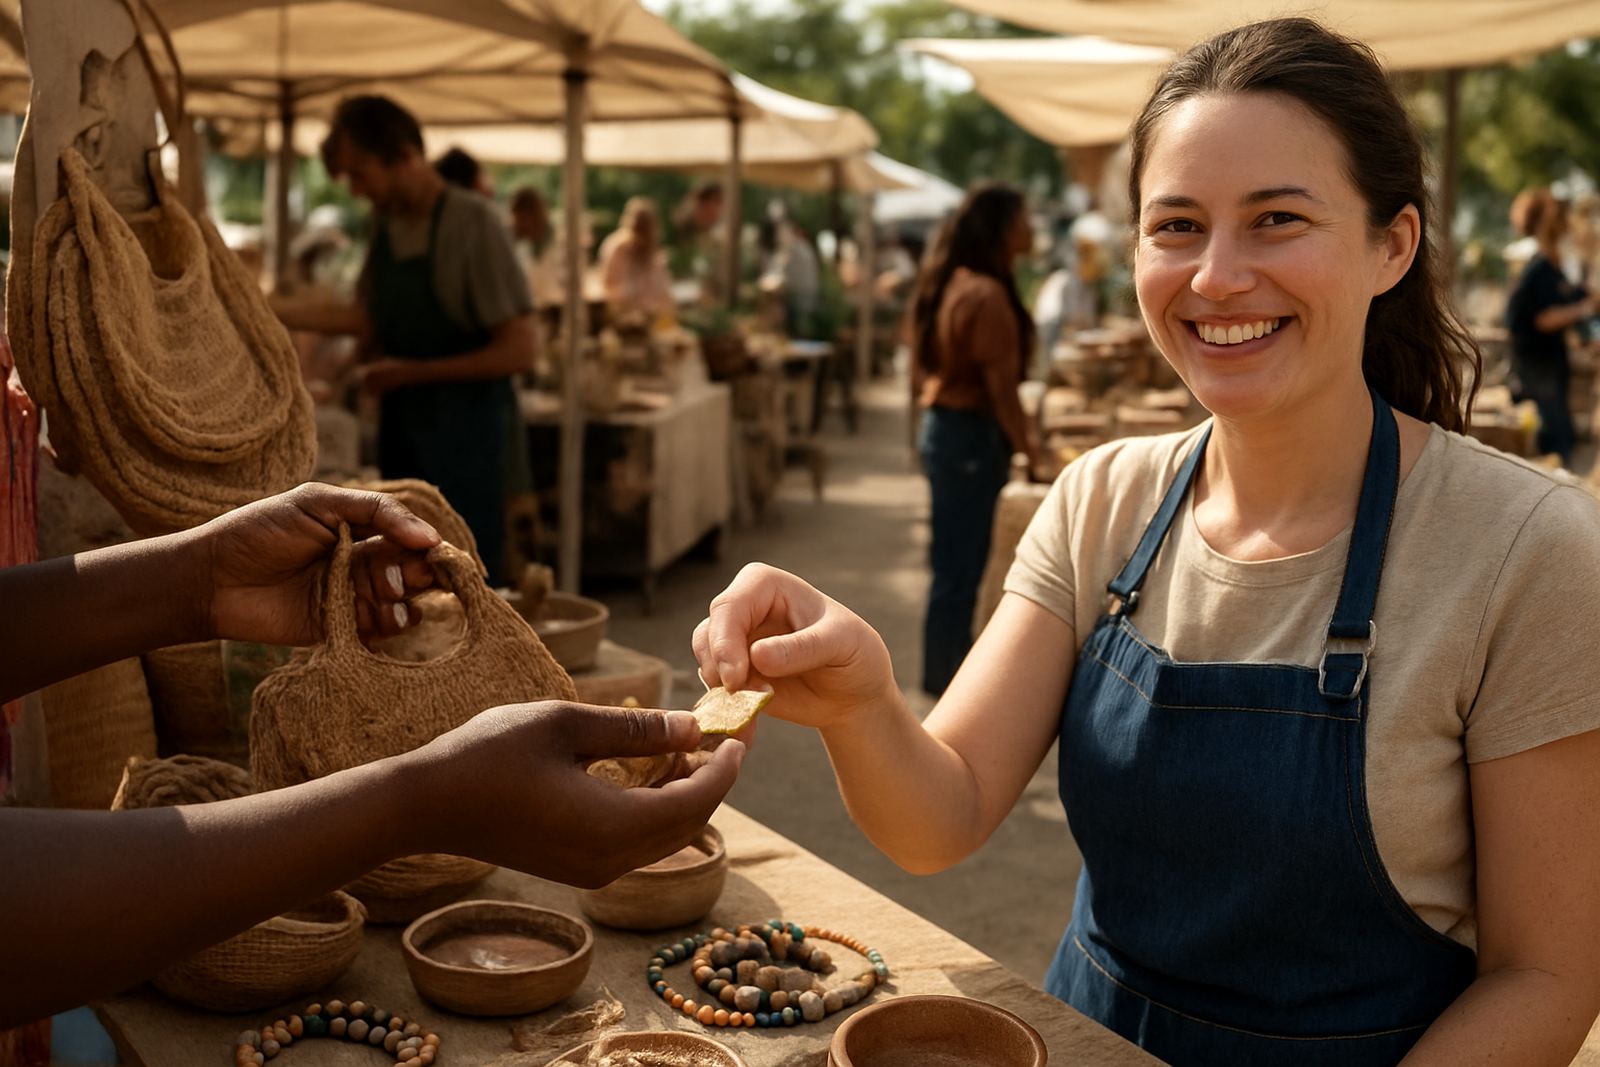
People photos work best when the moment is natural
The strongest market photos are usually the ones that show the full day, not just the peak hour. A maker setting up at sunrise, a stall under clean morning light, a lunch rush, and the pack-down at the end each tell a different part of the story. Together, they show effort, trade and community. That is the look that suits events in Hatfield and across our nationwide pop-ups.
For event planning, it helps to think ahead about where the best photo spots will be. Find the stall with the nicest front table, the walkway with the most movement, and the corner where the light falls cleanest on product. If there is a workshop taking place, such as stall styling or packaging for sales, those moments often make strong behind-the-scenes images because they show learning in progress. And if rain comes through or the wind picks up, don’t stop shooting. A hand holding down a tablecloth or a maker adjusting stock can become one of the most honest pictures of the day. That is often what people remember later.
In the end, market day photo moments are about showing proof of work, not staged perfection. A photo that captures real trade, real people and real local craft will always carry more weight than one that looks too arranged. That is what makes the scene feel worth visiting again.